Using Patterntrace (Swedish Tracing Paper) to draft sewing patterns means I’m not wasting fabric, but can make a 3d version of my pattern and check all my measurements are correct. It lets me ensure I like the size and shape of it, and to make alterations, before making it in fabric. Patterntrace can be sewn together like fabric, or to save time you could tape it.

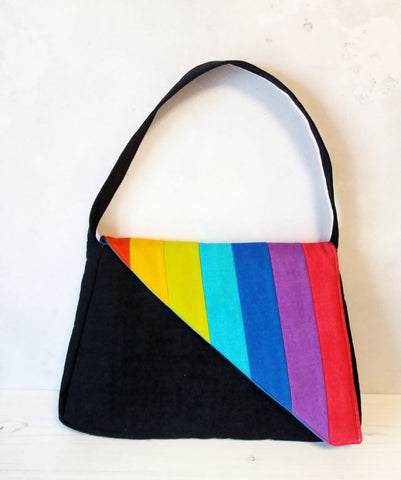
I used it to make a trial version of a bag I was designing for The Sewing Directory (see picture above). It’s a handbag sized bag with an asymetric patchwork flap. Quite different from anything I’ve designed before so I wanted to make a test version before I started to cut into fabric.
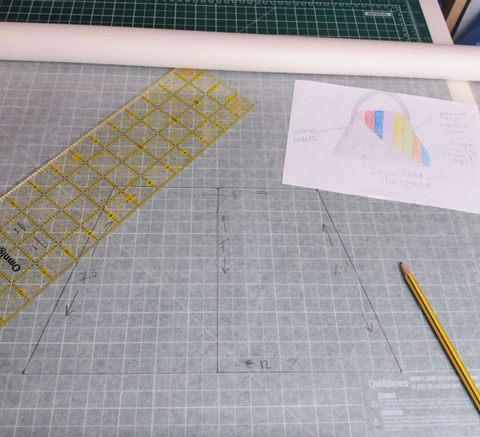
First, I placed Patterntrace over my cutting board so I could see the measurement grid underneath. Patterntrace is translucent so you can see through it. Using a ruler I drew the lines I needed to make the main body piece of the bag. I marked the measurements on each line, but remember to make the marks on the inside of the pattern piece not the outside or you’ll cut them off when you cut out your template.
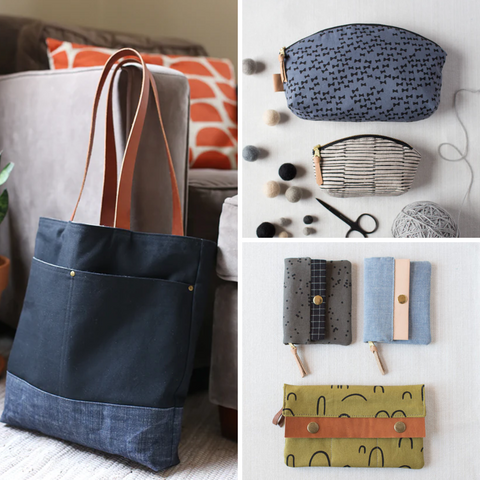
When I cut out my original pattern piece I realised it was too small. So I placed a piece of Patterntrace over it and used the first template to scale up to a larger one. The round blue things are my pattern weights, I use them to keep the original template in place whist I drafted the second larger template. I like to keep my original template intact, so I can trace off it as many times as I like while working on a design. So I put another piece of Patterntrace on top, and traced off 2 copies, for the front and back panels of my bag and labelled them ‘front’ and ‘back’.
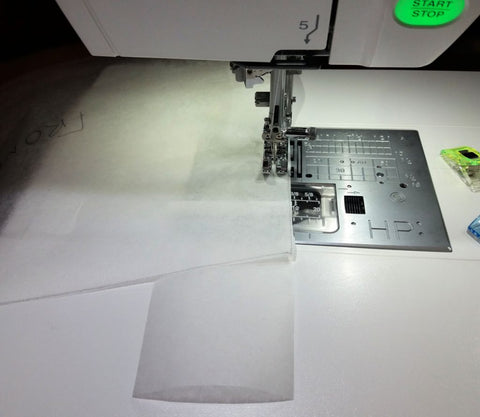
Using the measurements I had written on my original I calculated the approximate length of the gusset. I cut it and using Wonder clips attached it to the front panel and stitched into place. As you can see from the image above I had made the gusset a little long so I cut a couple inches off and changed the measurements for my pattern accordingly.
The only real difference I noticed when sewing with Swedish tracing paper is that it crumpled around the corners a bit because it doesn’t have the ease that fabric has. But other than that it handled just like fabric, I didn’t have to use a special needle, thread or foot to stitch it.
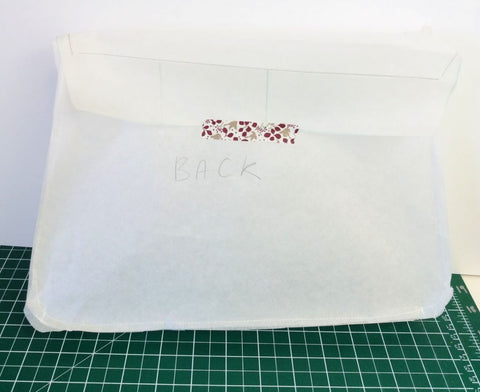
You don’t have to sew Patterntrace, you can just tape it together if you want. When adding the bag flap I used washi tape to put the flap in place and check it was the right size and shape for the bag. Because washi tape is less sticky than regular Sellotape it’s easy to peel off without damaging the paper. This means I could easily try several bag flaps if I wanted to.
Once I was happy with my draft version of the bag I used the original template, the bag flap template and the measurements I had written down for the gusset to make the bag in fabric and then wrote up the directions for the patterns. The bag pattern will be available for free on The Sewing Directory from February. You can see my first sample of the bag below.
If you’d like to order a roll of Patterntrace so you can start pattern drafting just click here. Don’t forget if you sign up to our newsletter you get a 15% discount on your order 🙂
